• studiocharm blog
  • studiocharm wood
  • studiocharm fabric
  • studiocharm paper
  • studiocharm canvas
  • studiocharm photo
  • studiocharm paint
  • studiocharm quilt

Time and a Season

January 13th, 2015

I keep checking my blog for new posts, but alas, all signs of “new life” and new projects are notably absent. I guess I should give in and write some posts to freshen up the place. 😉

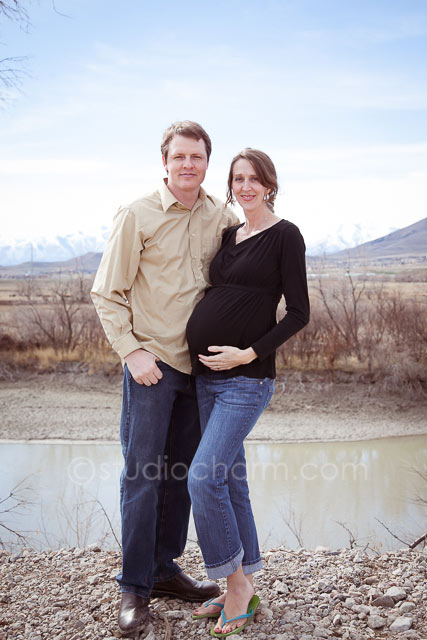
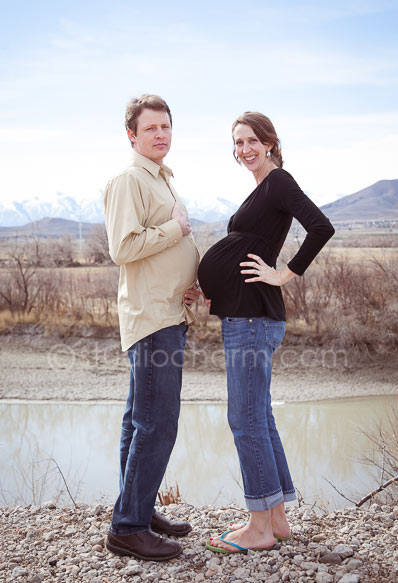
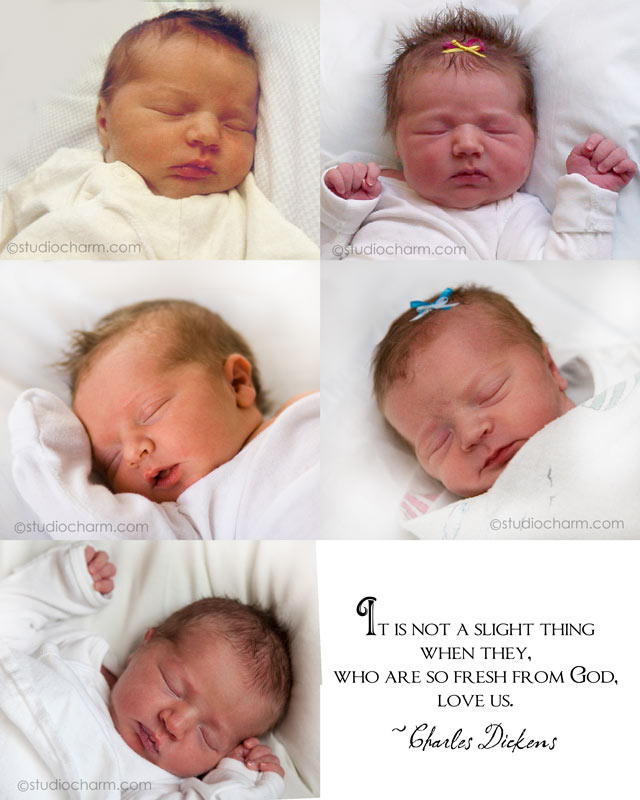
Truth is, I started out 2014 with a lot of ambition and energy, and once my precious new baby arrived in the spring the blog took a back seat and I took some personal time to focus on family. I’ve relished my time snuggling my precious baby and playing with my big kids. I’ve also enjoyed creating art with and for my kids- so my creativity has been put to good use. I scaled back my photography sessions to a bare minimum for all of 2014- this was difficult for me but also necessary. I also spent a large portion of the year caring for my father when he was diagnosed with lymphoma last summer. He passed away at the end of August.

I enjoy a reasonable amount of privacy and personal (family) space, but yet there is so much I want to share! I am excited to blog a little more frequently and have committed to some fun goals for 2015. This list includes:

  • Finish scanning and labeling hundreds of family photographs (I actually have a significant portion of this completed!)
  • Compile a photographic/ written biography about my father.
  • Create a “family yearbook” for 2014- hubby and the kids have been helping to remember the highlights and memorable experiences. I also want to document 2015’s yearbook content “as we go.”
  • Finish remodeling our “fixer upper” 1930s bungalow house in Sanpete County and get it sold! (Our primary residence will remain the same-we’re not moving any time soon!)
  • Read the Book of Mormon.
  • Interview my mother and mother-in-law … (I recently interviewed and recorded stories about my father-in-law). This is a big one on my list!
  • More art projects with my little ones–they absolutely love anything that has to do with paper, paint, wood, fabric, wool and photography. I can always count on an artist companion any time I start up a new creation.
  • Date my hubby . . . his new year’s resolution was to take me on 24 dates this year! I am happy to support this, as the past 14 years have been heavily devoted to our babies and not having many opportunities to go out on a regular basis. Our first date for 2015 was a bowling night- we bought each other bowling shoes for our anniversary and christened them last week!
  • I want to learn how to compost and keep up our garden this year. We have a nice garden space, and a good sized yard, but my hubby usually does the majority of gardening. I want to involve the kids and I more. Also, I want to plant more herbs and learn how to harvest them.
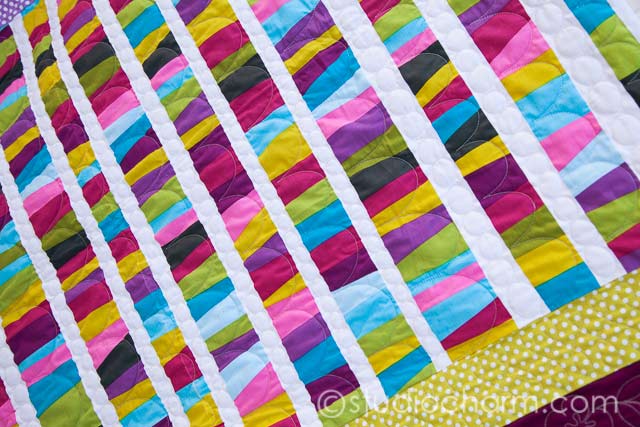
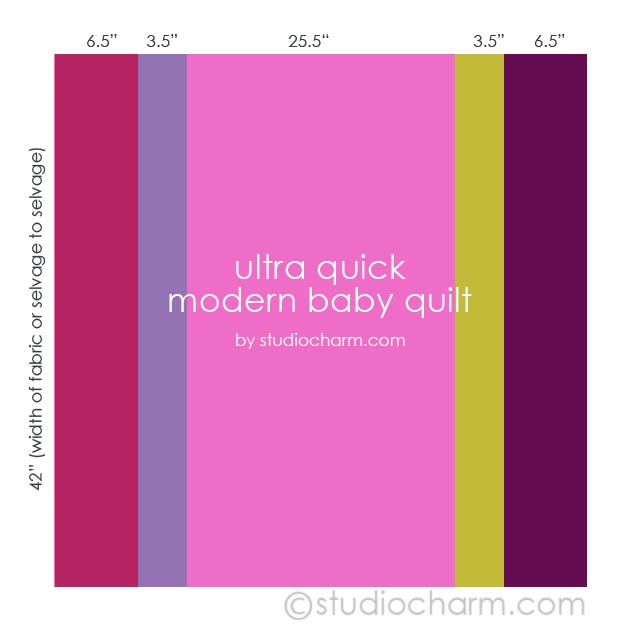
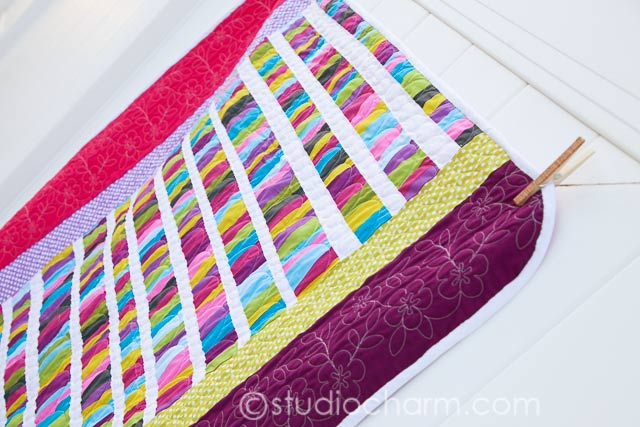
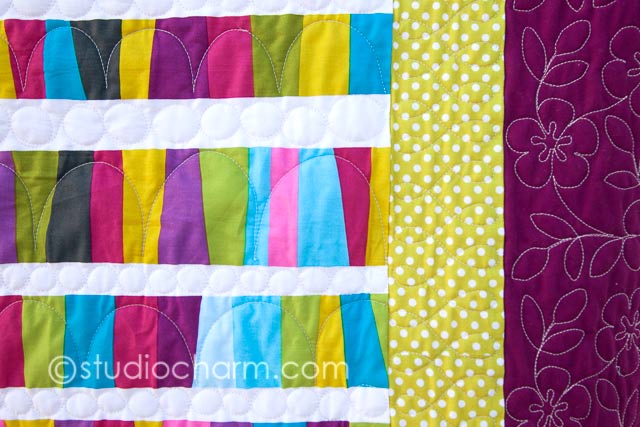
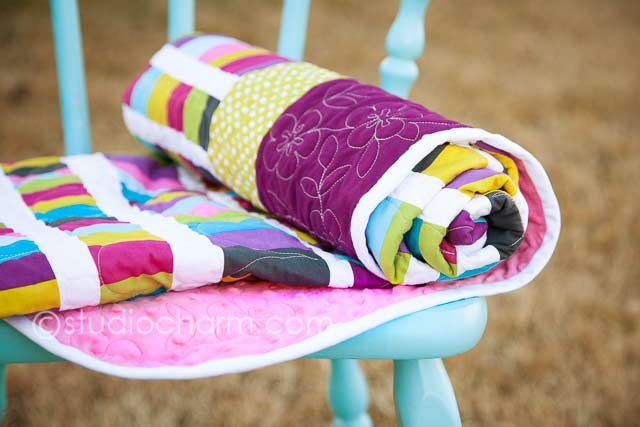
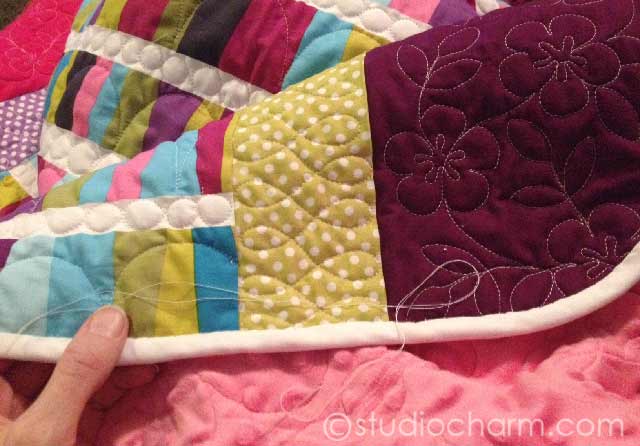
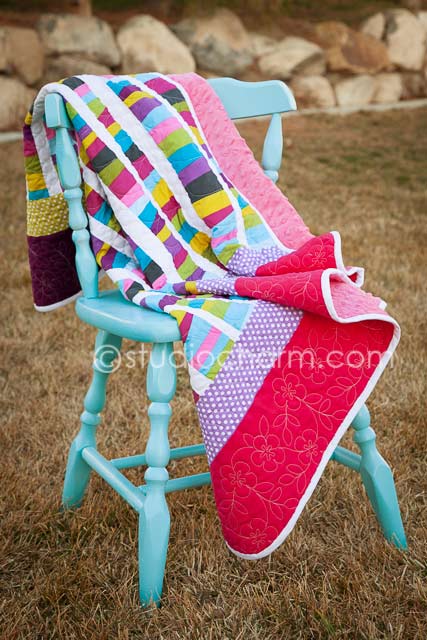
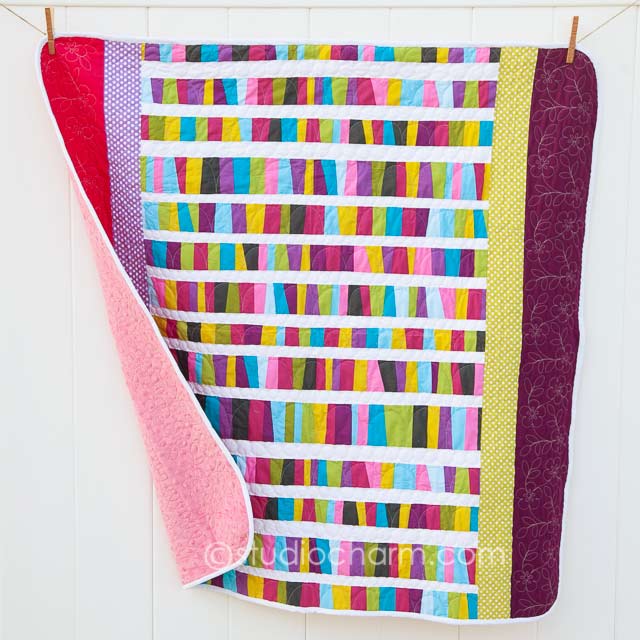
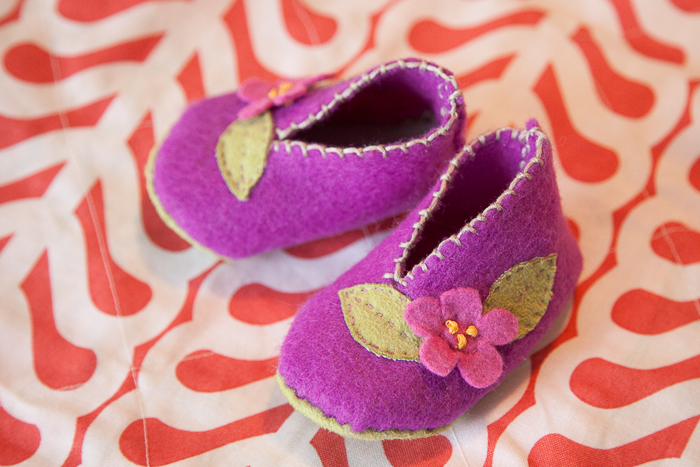
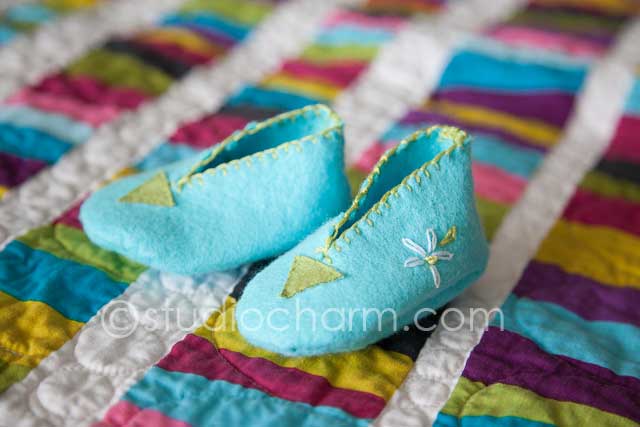
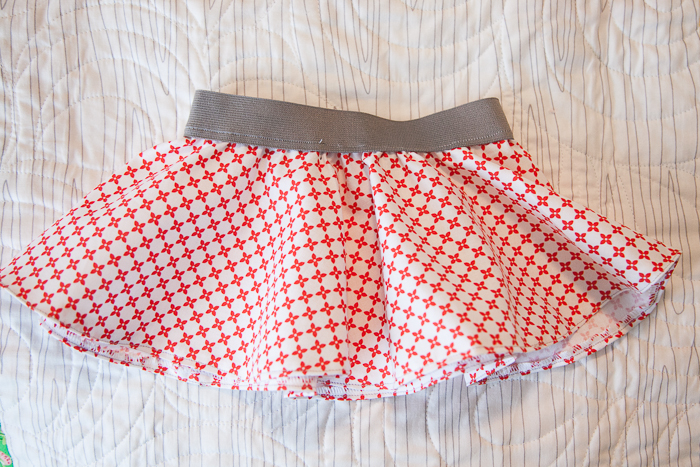
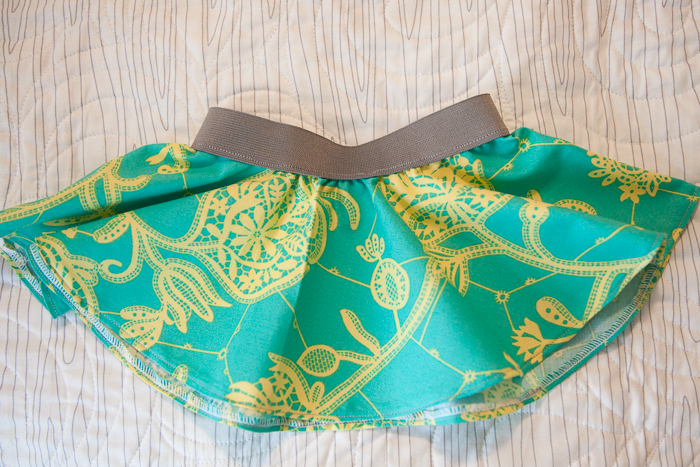
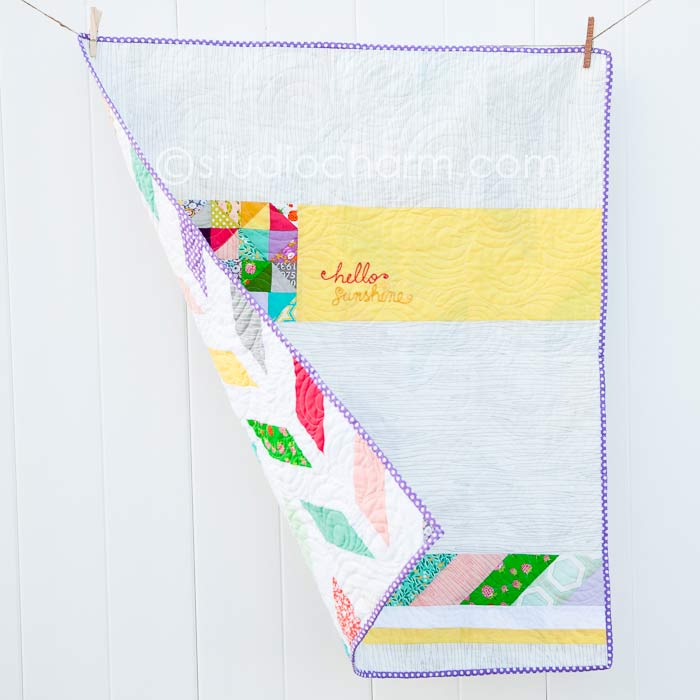
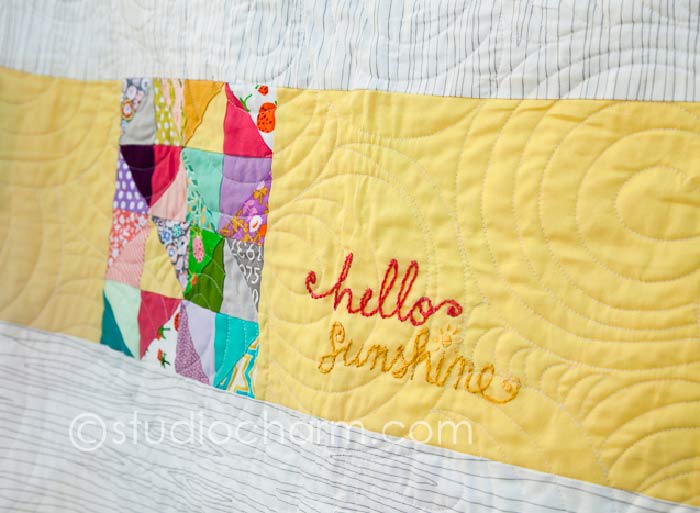
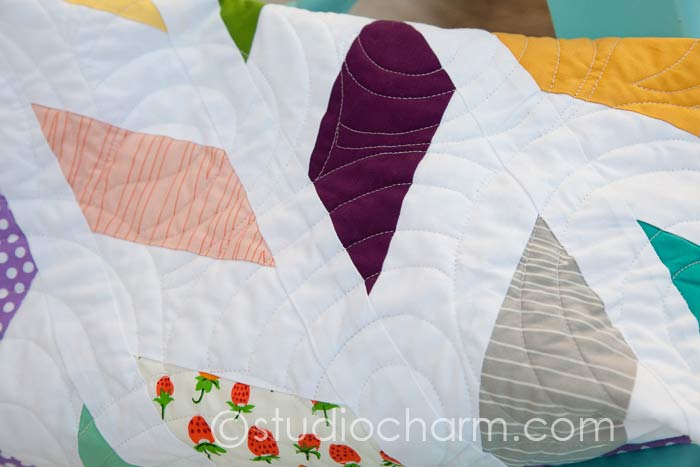
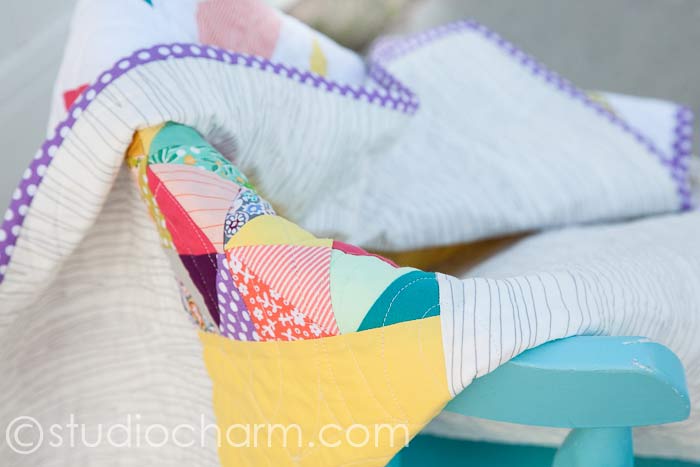
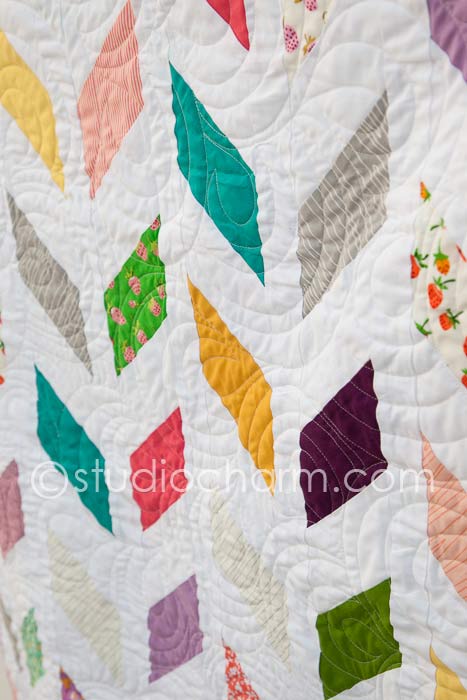
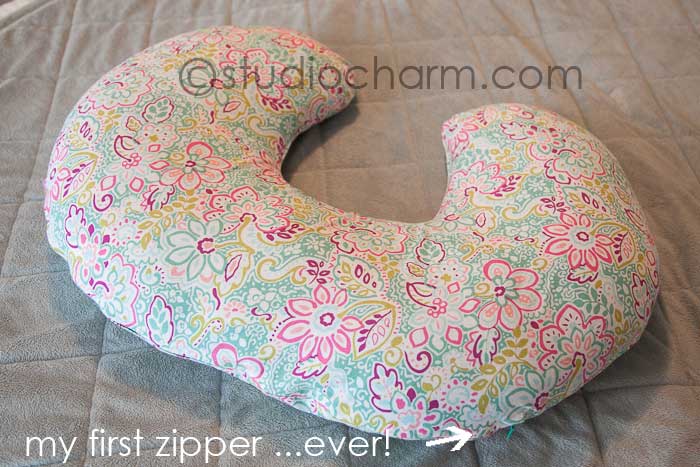
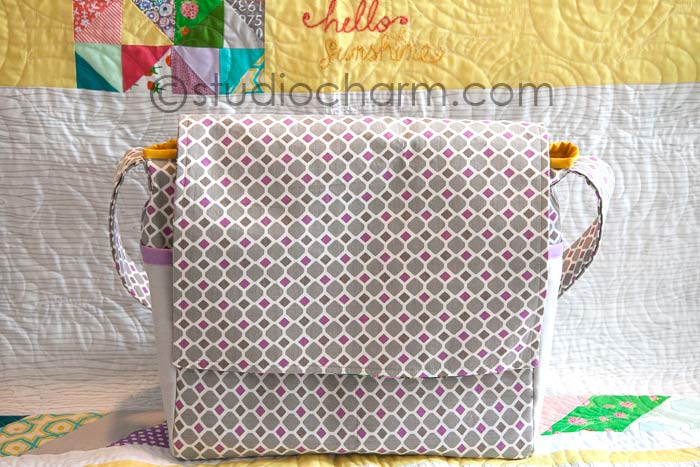
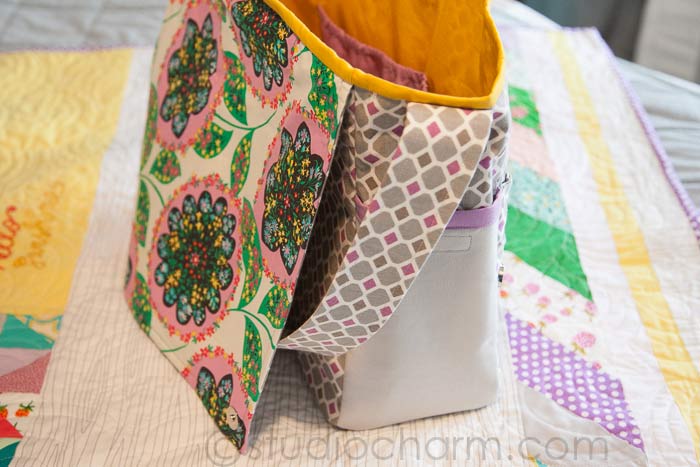
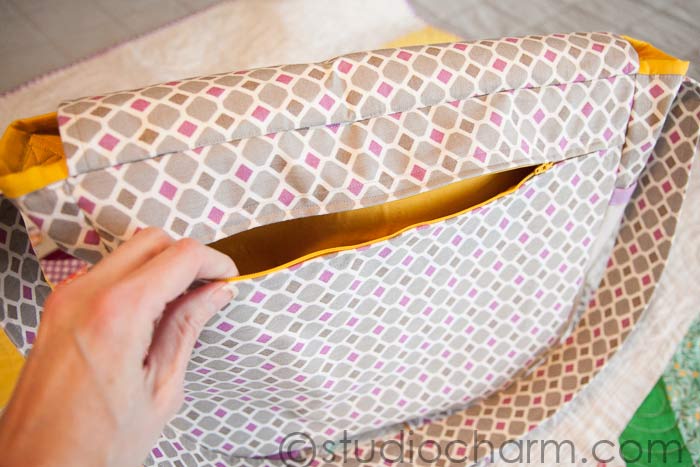
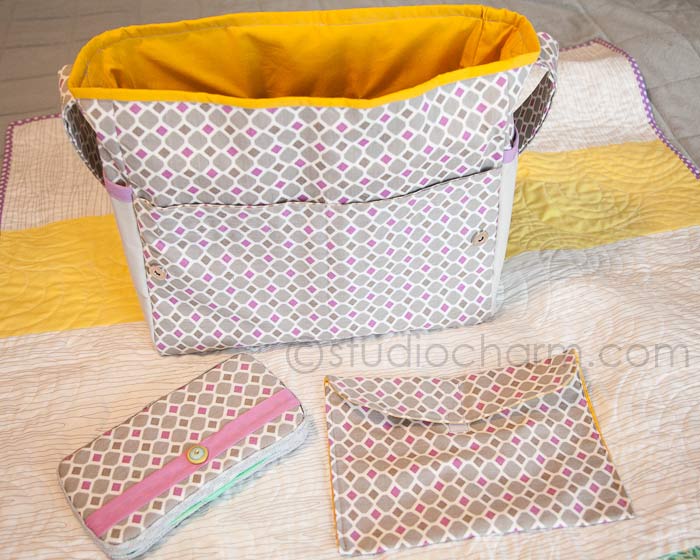
  • Improve my sewing skills- zippers still frighten me, but I think I can take this one on. I plan to make a birthday dress for baby and surely another quilt or two.
  • Take pictures- I look forward to booking some clients this year, but it will continue to be a scaled back version of what I used to do in previous years.
  • Ride my bicycle (get some exercise!)
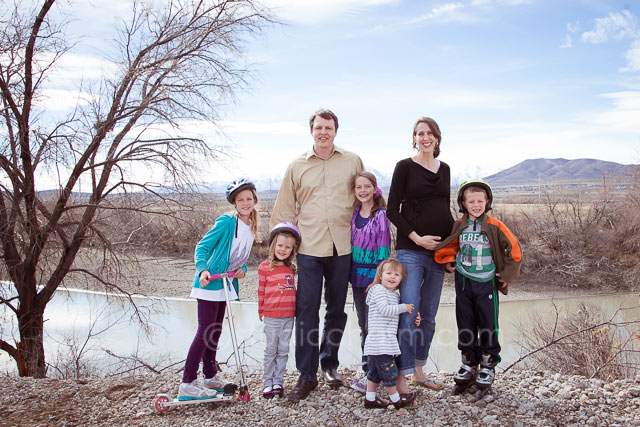
  • Soak up every precious minute with my little ones who are somehow growing bigger  even though I squeeze them tightly! Our baby girl will be ten months old soon. She thinks it is acceptable to grow up right before my very eyes. The nerve!
christmas card, family

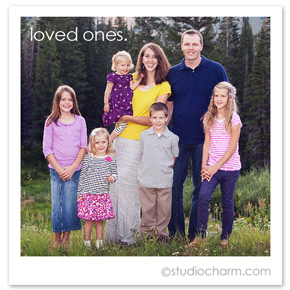
Our 2014- from left (January) to right (December) was dotted with many happy memories along the way.


breaker

ultra quick modern baby quilt pattern

March 13th, 2014

This modern style baby quilt came together quite simply! I knew I wanted to use a “soft and comfy dot fabric” from JoAnn’s (AKA pink minky) for the back, so I went through my stash to find the perfectly coordinating piece of fabric for the front center. I spent more time deciding on which pattern to use than I did sewing the strips together thanks to a nice stash of random yards of fabric I have acquired over the years.

Enjoy this basic tutorial explaining how to create a similar quilt:

studiocharm ultra quick modern baby quilt

1. I laid the minky out on the floor- it comes 58″ wide, and I had purchased 1.5 yards (54″ length). I was planning to have the quilt professionally quilted, so I planned for the backing to have an extra 4″ per side for room to maneuver and to have the quilting design go from edge to edge.

2. For the quilt front, I then selected the center piece of fabric and played with different solids/ prints on the edges until I liked the combination. (See layout below) The center piece is 25.5″ length of fabric x width of fabric (42″), flanked on both sides by a polka dot strip and a strip of solid kona cotton. I wanted the quilt to have a modern feel, and remain simple and playful. I chose the kona cotton based on the colors from the center piece. One great thing is that with solids and basic prints this quilt doesn’t have a “top” or “bottom.”

Note: If you choose to have a directional print (with an obvious top), you’ll need to either have it be a wide rectangle or purchase more fabric (42″ in length) if you want it to run vertically as shown on my template, trimming it down to 25.5″ wide.ultra quick modern baby quilt studiocharm3. I pieced the front using a 1/2″ seam, it was a cinch with only 5 rows! I used a walking foot (because I have one) but this could be easily sewn with a basic presser foot. I pressed the seams open on the wrong side of the fabric,  then trimmed the quilt to square up the sides. Most quilting cottons vary slightly on width so I found one side was aligned but the other was a little uneven. I wanted to keep the quilt with square proportions, so I kept this in mind while trimming.studiocharm modern baby quilt4. Then my ultra quick modern baby quilt was ready to be quilted. I wanted it to be extra cuddly so I added a layer of batting between the minky and front of the quilt. My favorite machine quilter Melissa did an amazing job on the quilting, with freehand scallops and pebbles in for the center, a figure 8 (or modern twist) for the polka dots and a computerized quilting pattern “Emily” on the the floral strips using white thread. The quilting design really adds to this simple front. It was an effective way to really personalize the quilt and a little more of a feminine touch to the basic, modern prints.

ultra quick modern baby quilt studiocharm

studiocharm modern baby quilt wholecloth5. With the layers quilted together, I did a final trim, resulting in a 42″x42″ quilt. I used a round bowl as a template to round the corners, tracing with chalk first and then cutting with scissors. I love rounded corners!!

studiocharm modern baby quilt binding6. I opted for a white bias binding to balance out the bold color and to echo the stripes on the fabric print. I machine sewed the binding to the pink (backing) of the quilt and hand stitched it to the front side using an invisible ladder stitch. (Here’s a great tutorial I found a while back that taught me this technique). I loved binding this quilt in the late evening while enjoying some fabulous Winter Olympic coverage. What a great way to relax and stay warm at the same time!

The center print is from Kona Modern Quilts by Cynthia Frenette for Robert Kaufman. This method of quilting is sometimes referred to as a “cheater quilt” because the main part of the quilt is not pieced. In my opinion, if the style is fun, and I love the fabric and colors, I really don’t care how many pieces comprise the quilt. I guess I don’t make a very good “quilt snob.” I will admit being a fabric snob though, and this fabric is premium quality!

2014_03-studiocharm-quilt-m01This quilt turned out SO snuggly with the minky! This is the first one I’ve made and KEPT with a minky backing . . . I have a feeling it won’t be the last!

studiocharm modern baby quilt minkyI love how the patterned fabric has the wonky rectangles that appear to be pieced with white sashing in between the rows, but instead is a “whole cloth” quilt! Finished size is a generous 42″x42″ with rounded corners.

This quilt pattern can take on many different looks depending on your selection of the center print–it was simple enough perhaps I’ll make another if this baby doesn’t get here soon! Due date is less than a week away!!! I washed the finished quilt with a “Shout Color Catcher” and then threw it in the clothes dryer. It came out absolutely snuggly and fun!

breaker

All Because Two People Fell In Love . . . No, Really.

March 10th, 2014


This one. This is the one that I get to be with each day. This one became my best friend over 14 years ago. He is my true companion. He loves me, imperfections and all. He has held my hand and shared his love and strength through the deliveries of our five babies and any day now he will once again be my main supporter as we welcome our baby girl into this world. He is one of the most incredibly supportive and encouraging people I know. He loves our children. He loves me. I love this one. I love us.  studiocharm
2014_03-mat2
2014_03-mat1
2014_03-studiocharm-mat02

Our romantic walk down by the river was actually an action packed, roller-blading, scootering, kid chasing, potentially labor inducing (didn’t quite do the trick) Sunday afternoon family outing. Photos courtesy our oldest child who had great timing and the use of the camera tripod! Wow, I love these little ones too!
2014_03-studiocharm-mat01Baby update: I had originally hoped the baby would be born yesterday, but then our sweet two year old came down with a fever Friday night and I spent a day snuggling her, caring for her and praying our baby would wait until the “health coast” was clear before she was born. I’m glad she waited, and now I’ve given baby the green light. I admit feeling really sentimental about this pregnancy and loving carrying this precious baby inseparably next to my heart. She is one of our most active in utero, and keeps me amused throughout the day and night with her antics. I have had some amazing experiences during this pregnancy that have given me a tiny glimpse as to how incredible she is. I can hardly wait to see her beautiful face.

breaker

Olympic Feet

March 7th, 2014

During the 2014 Winter Olympic games, the hubby and I enjoyed a nightly ritual of sitting down and watching the highlights of the day. I especially enjoyed the ice skating, snowboarding and ski jumping events. It was so nice to finally get off my tired feet and to indulge in a little handiwork. I’ve had a felt baby booty pattern printed and ready to be put to use for nearly 5 years now. The time finally came to put it to use. I loved imagining our baby’s tiny toes snuggled warmly inside the wool felt booties, and enjoyed personalizing them with some hand embroidery! My lovely friend Melissa gave me the felt- I’ve always used the cheap polyester stuff, but now with a sense of how great the wool and bamboo felt is there’s no going back!

studiocharm baby booties

studiocharm bitty booties* Here’s a link to the lovely free bitty booty pattern by the talented Heather Bailey.

It feels great getting around to making stuff that I had hoped to do for the last couple of years includes trying out this free and simple circle skirt pattern by Dana.
Here are the results:

2014_03-studiocharm02 studiocharm baby circle skirt

breaker

the herringbone baby quilt

March 3rd, 2014

Baby girl is due in only two weeks and I feel giddy when I hold this quilt and know I get to snuggle her up in it so soon!

studiocharm herringbone baby quiltI admit being a big fan of the chevron craze, I love modern quilting, and my true style is spontaneous when it comes to quilting. With these preferences in mind, my design for a “broken herringbone” pattern evolved. I purchase fabric like I do paint: a little of this color and a little of that, and we’ll see how things turn out. So– I stocked up on a bunch of kona cotton solids and gathered some of my nearest and dearest fabric stash members to create the special quilt for baby girl. I wanted to emphasize purple and coral prints and solids and some favorite Heather Ross prints. I also was so excited to incorporate some of the prints generously gifted to me by my amazing midwife. She seriously showed up one with a bundle of beautiful printed quilting cotton one day, just for me. It is an honor to leave her “thumbprint” on this baby quilt too!  So I cut an excessive sufficient number of the colored strips so I’d have room for variety and rearranging into whatever design I came up with for the front and back sides.

studiocharm-quilt-19These strips are 3″ wide x 9″ long, minus a 45 degree angle trimmed off of both ends. I needed strips with angles slanting in both directions, so this was done by stacking two strips wrong sides together and trimming the corners off simultaneously. For all of the colored/ patterned strips I needed the same number of white strips. I had the opportunity to cut “extra” ones of these, since I mistakenly started out with 7″ strips and cut those down. (Ooops. I’ll have to figure out something to make with those spares.)

studiocharm herringbone baby quiltLayout went something like this . . . with vertical white sashing in between each of the 8 rows. I decided to offset the “chevron” look at this point and it became more of a herringbone pattern. I went to work sewing each row- it came together pretty quickly. Then for the back side of the quilt, which could easily be the front because I love how it turned out! I love to pay special attention to both sides, and when possible add a bit of personalized embroidery for my “signature touch.” We don’t have our baby girl’s name officially decided yet, so I wasn’t ready to stitch it in, but you can’t lose with “hello sunshine” right? I love the light, airy feel of the faux bois white with grey on the reverse side.studiocharm herringbone And the little “mini quilt” came about because of all of those little 45 degree angled pieces I cut off the original strips. I had to do something with them! I made sure the back was generously sized so my amazingly talented quilter Melissa at Sew Shabby Quilting would have room to maneuver as she worked her free motion quilting magic. I allowed for 6″ or so of extra fabric on all 4 sides. 2014_03-studiocharm-03 Melissa worked up an idea for her freehand baptist fans for the quilting and I am absolutely amazed at how she keeps the continuity and design going all throughout. It was just the perfect organic touch to a more modern, linear design. We opted to go with white thread to keep the quilt on the lighter side.2014_03-studiocharm-07  One of the most anticipated moments is when I go to pick up my quilt “babies” from Sew Shabby Quilting and have a chance to marvel at yet another amazing collaborative effort! She is truly an artist and I love to see how our creativity balances and works together. I look forward to blogging about more of my quilts that Melissa has quilted for me.

studiocharm herringbone baby quiltMy Hubby voted for the purple with white polka dot binding. I think it was the perfect touch to finish off this quilt! I really love the look of hand sewn bindings, and this one was sewn while enjoying another great episode of Downton Abbey (perfect way to relax on a Sunday evening! )studiocharm herringbone baby quiltI’ll be snuggling my new babe in this quilt . . . ANY DAY NOW! Can you believe it? I’ll showcase the quilt with our newest baby model when she arrives. 😀

PS: I found this tutorial to be helpful when I was thinking through how the quilt would come together. I made changes to suit my preferences, but I really appreciated the step by step tutorial of cutting the strips to get me started!

breaker

Baby Gear Filled Nest

February 27th, 2014

I’ve been sewing/ crafting/ organizing up a storm in the process of getting ready for our baby!! Each day it is a balance between “have to” “oughtta do” and “wanna do” . . . some days I manage to squeeze in all three categories. Gotta love nesting energy and motivation!!

I night I made a zippered boppy (nursing pillow) cover . . . this was a big deal, because I have avoided sewing a zipper since the first day I ever sewed something which was when I was 8 years old! I just couldn’t seem to gather up the courage to conquer my fear of zippers, but decided that another “slip cover” would not be suitable for this and it was time to face up to my sewing nemesis . . .

studiocharm boppy pillow cover zipperI’m no “pro” but I am thrilled at how this first attempt opened up the doorways to many sewing projects in the future that normally I would have avoided!! Wa hoo!

For instance, I made a diaper bag (this type of construction definitely a first for me!):studiocharm messenger diaper bag

studiocharm diaper bagPerfect use for a fat quarter of some fun Amy Butler fabric- the inside flap!

studiocharm messenger diaper bagMeet zipper number TWO!! I’m on a roll, and of course yellow was perfect color to complement the purple and gray!

I have to give a big shout out to this blogger who provided the awesome and detailed diaper bag tutorial here!  Thank you!

And a then for a matching baby wipes container and diaper & wipes envelope. (Click links for more great tutorials by other bloggers) pictured here with my baby’s new quilt!

studiocharm diaper bag

I also made this quick Co-sleeper sheet with a cozy pre-washed flannel. I’m hoping to make a couple more before baby girl’s here.

And a coral pink flannel crib sheet quickly came together with this simple tutorial.

Nesting is FOR REAL!!


breaker

Sweet Lavender Fairy

February 11th, 2014

Lavender Fairy so gentle and pure

at bed time you greet the littles

to calm them as they gently drift

to peaceful slumber.

studiocharm peg doll lavender fairy

A favorite part of tucking in my babies at night is dabbing a little lavender essential oil on the soles of their little feet, a little on their wrists and either a drop or two on their pillow cases or a little smudge on their forehead. The scent is so calming and gentle on little one’s skin, and seems to relax both mama and little ones each night. It is mild enough that it doesn’t require dilution too. Even if you’re not “into” essential oils, you may find it easy to fall in love with lavender.

breaker

when they were tiny

February 5th, 2014

I never shared an image of this special storybook canvas I created for my two oldest daughters when they were tiny (back in 2008). A friend invited me over to her parent’s backyard to photograph their waterlilies and the design took shape in my imagination from there. This image has many, many layers all photographed by me and combined artistically in photoshop. I printed it as a 24″x30″ canvas which has been enjoyed ever since. The canvas has many details hidden in the design–one of my favorite features!

storybook canvas waterlily fairy

breaker

These Babies

February 3rd, 2014

studiocharm babies

Our family anticipates the arrival of our precious baby girl next month! (How is it already February?)  We are so excited to greet her face to face and soak up her heavenly perfection. One of my most anticipated moments is when my hubby and I get to introduce our newborn to her older siblings. I count myself absolutely blessed to be mother to our SIX babies!

My dear four year old C. in her bedtime prayer a few nights ago said, “and we are thankful to find out the mystery about our baby and what color of hair she will have.” I too am so excited to find out who she is. I have a certain mother’s intuition that she’s amazing and she already brings so much joy to our family. Before our first daughter was born I really thought I would have a lot of input on her personality. Parental lesson number one learned: 1) Babies come “right out of the box” with their own distinct personalities.

As for baby names (we are often asked if we’ve decided on anything) . . . we tend to wait until baby is here to make anything official or announced. I taught junior high for three years before I became a mother, so at least 876  a few names are no longer eligible for consideration. We have a few unique names are in the running, and the kids continue to suggest more “options.” During last night’s Sunday tostada dinner the name “Bean” was suggested. Hhhhhmmmm.

Here are the some of our baby name requirements:

  • First name: we prefer to not use the initials S, A, M, C & C (okay- so we’ve already broken this rule!)
  • We hope she will not spend her entire life pronouncing or spelling her name for people in order to have them know her name (no built in social disadvantages!)
  • We tend to go with two syllable names, but are flexible here.
  • We are really private with our kids’ names (on this blog & fb) because I am paranoid protective like that. You’ll just have to imagine how all of our names fit together if you don’t already know them. 😀
  • I like names that look pretty when written out, and mostly traditional.
  • I prefer to call her by given name, allowing nicknames to develop naturally rather than having a designated nickname from the get go.
  • We try to avoid names that are in the top 50 most popular– I’d rather have a name where nobody specific comes to mind with the name (except for our baby of course!) and 

Just a few requirements . . . no biggy. 😀  You are welcome to add suggestions to the list, just see if you can outdo “Bean.”

breaker

Tiny Fern Fairy

February 2nd, 2014

My dear sweet tiny Fern Fairy,

I love your innocent gaze

The swirl atop your round little head

Your freckled rosy cheeks

Your vibrant green foliage

and delicate wings.

studiocharm fern fairy peg doll

This little fairy peg doll was painted for my 2 year old daughter for Christmas, along with the whole fairy family which will be introduced in the near future. This little friend has a special place in my heart.

breaker